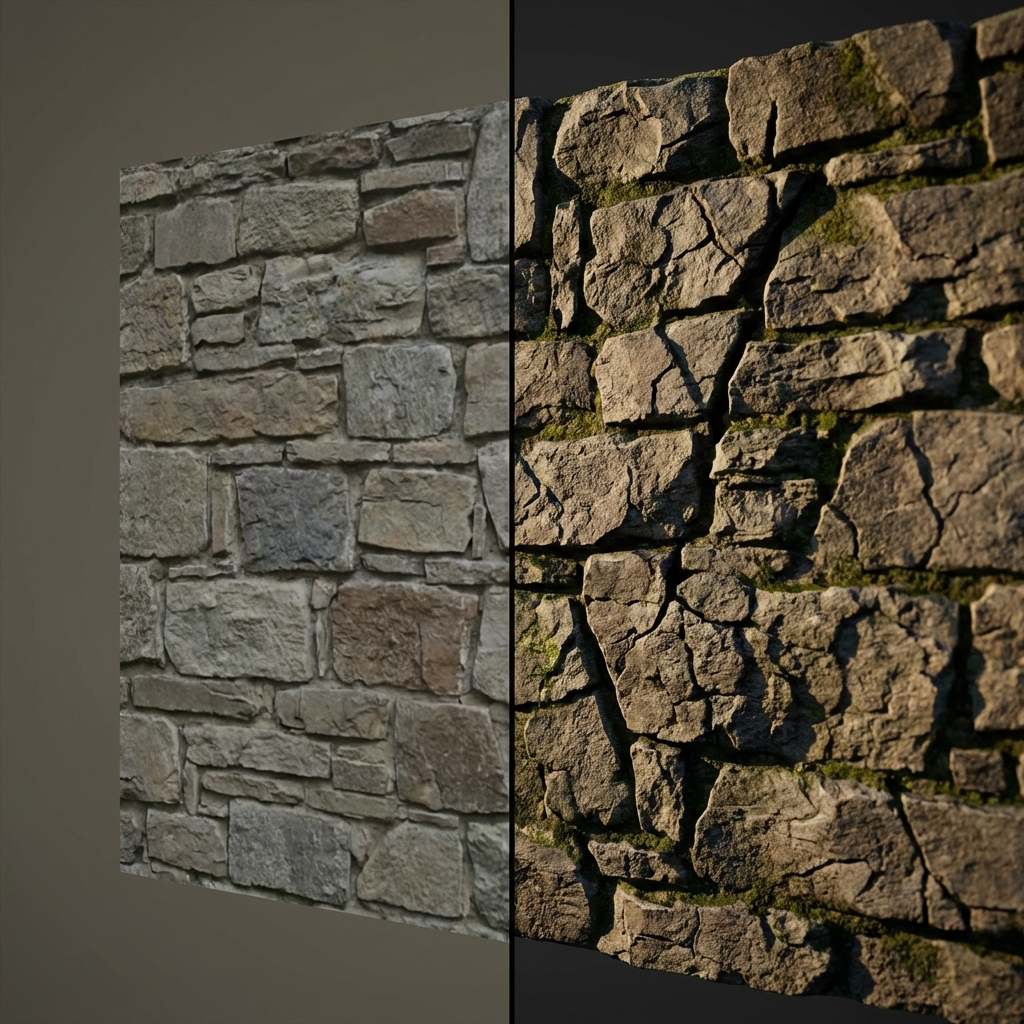
The difference a Normal Map makes: Flat vs. Detailed
Flat textures look flat. A Normal Map adds fake depth by telling the renderer which way each pixel is facing. This guide shows you how to make one from any photo.
Quick Recap: What's a Normal Map?
A Normal Map uses RGB values to encode surface direction. Red = X-axis, Green = Y-axis, Blue = Z-axis. The renderer reads this and fakes lighting accordingly.
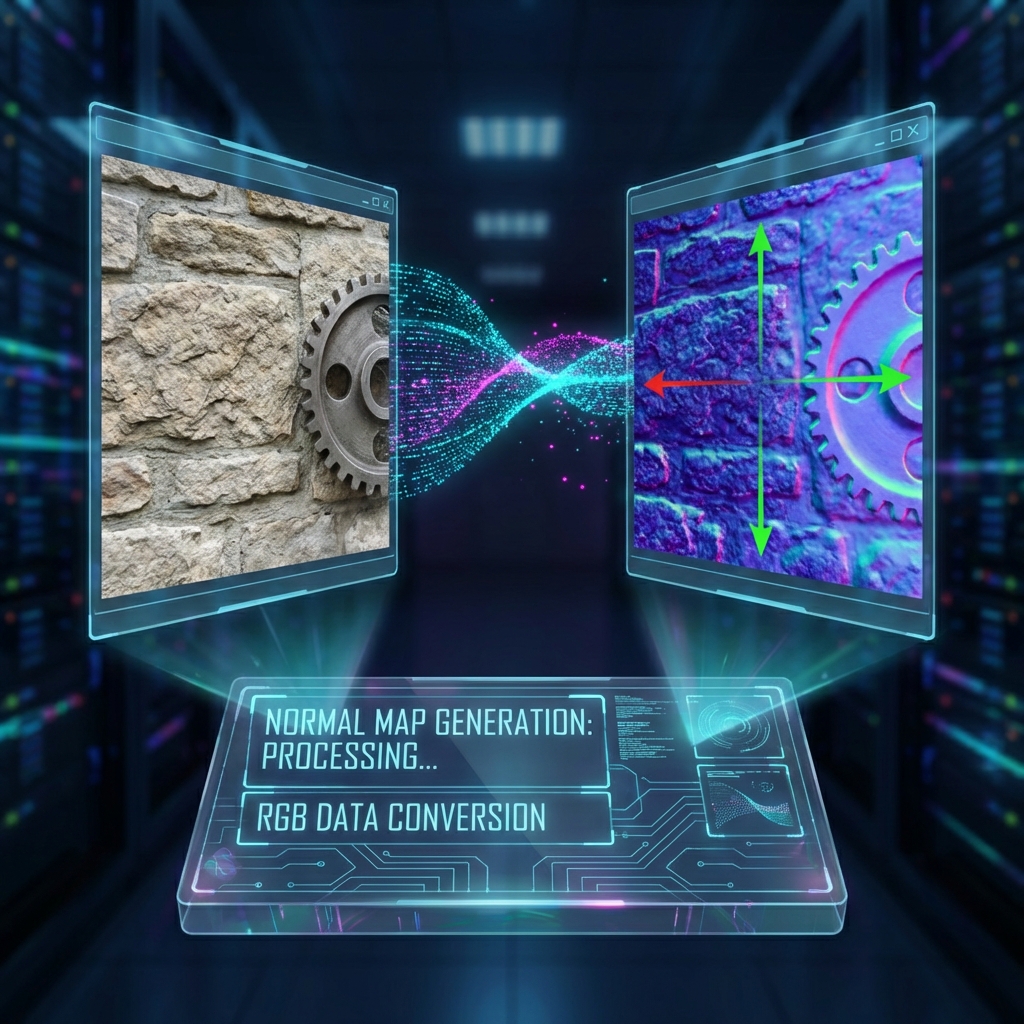
From Photo to Data: Visualizing the Normal Map Generation Process
- Red: Left/Right direction (X-axis)
- Green: Up/Down direction (Y-axis)
- Blue: Forward/Backward direction (Z-axis)
Low-poly models get high-detail looks without the performance hit. That's the trade-off.
Why Use Normal Maps?
- Performance: Get high-detail looks with low-poly counts. Essential for games and VR.
- Realism: Simulate how light interacts with bumps and dents dynamically.
- Workflow: Essential for modern PBR (Physically Based Rendering) workflows.
How to Create a Normal Map from an Image (Step-by-Step)
No Photoshop needed. Upload an image and let the tool do the math.
Step 1: Choose the Right Source Image
Start with a high-quality photo. The best images for normal integration are:
- Evenly Lit: Avoid strong shadows in the photo, as they can "bake" into the normal map and look wrong in 3D.
- High Contrast: Clear definition between the cracks (dark) and surfaces (light) helps the AI or algorithm detect depth.
Step 2: Use an Online Normal Map Generator
Tools like our Online Normal Map Generator are perfect for this.
- Upload your Photo: Drag and drop your texture into the tool.
- Adjust Strength: Increase the "Strength" or "Intensity" slider to make the bumps deeper. A value between 1.0 and 2.5 is usually a good starting point.
- Check Invert Settings: If your cracks look like bumps (sticking out instead of digging in), often "Invert G" (Green Channel) is the solution.
- Preview: Use the 3D preview window to see how the light reacts to your new map. Move the light source around!
Step 3: Integrate into Your 3D Software
Once you download your purple-hued map:
- Import it into Blender, Unity, Unreal Engine, or Three.js.
- Crucial Step: Set the Color Space to Non-Color (or Raw/Linear). Normal maps contain math data, not color visuals. Using sRGB gamma correction will ruin the lighting effect.
- Connect it to the "Normal" input of your shader (usually via a Normal Map node).
Ready to Try It Yourself?
Convert any image into a Normal Map instantly in your browser for free.
Go to Generator